To publish your Unity iOS app on the App Store:
- Join the Apple Developer Program ($99/year)
- Have a Mac with Xcode and a valid Apple ID
- Prepare your Unity project for iOS:
- Configure player settings (bundle ID, signing team, icons)
- Optimize for iOS (reduce asset size, use occlusion culling, minimize garbage collection)
- Add iOS-specific features (in-app purchases, Game Center)
- Create App Store assets (app icon, screenshots, preview video)
- Set up App Store Connect (create app entry, upload assets, provide info)
- Get distribution certificates and provisioning profiles
- Build and sign your iOS app in Xcode
- Submit the app for review on App Store Connect
- Handle any rejections and submit updates as needed
By following these steps and Apple's guidelines, you can successfully publish your Unity game on the iOS App Store.
Related video from YouTube
Things You Need
Before submitting your Unity iOS app to the Apple App Store, make sure you have the following:
Apple Developer Program Membership
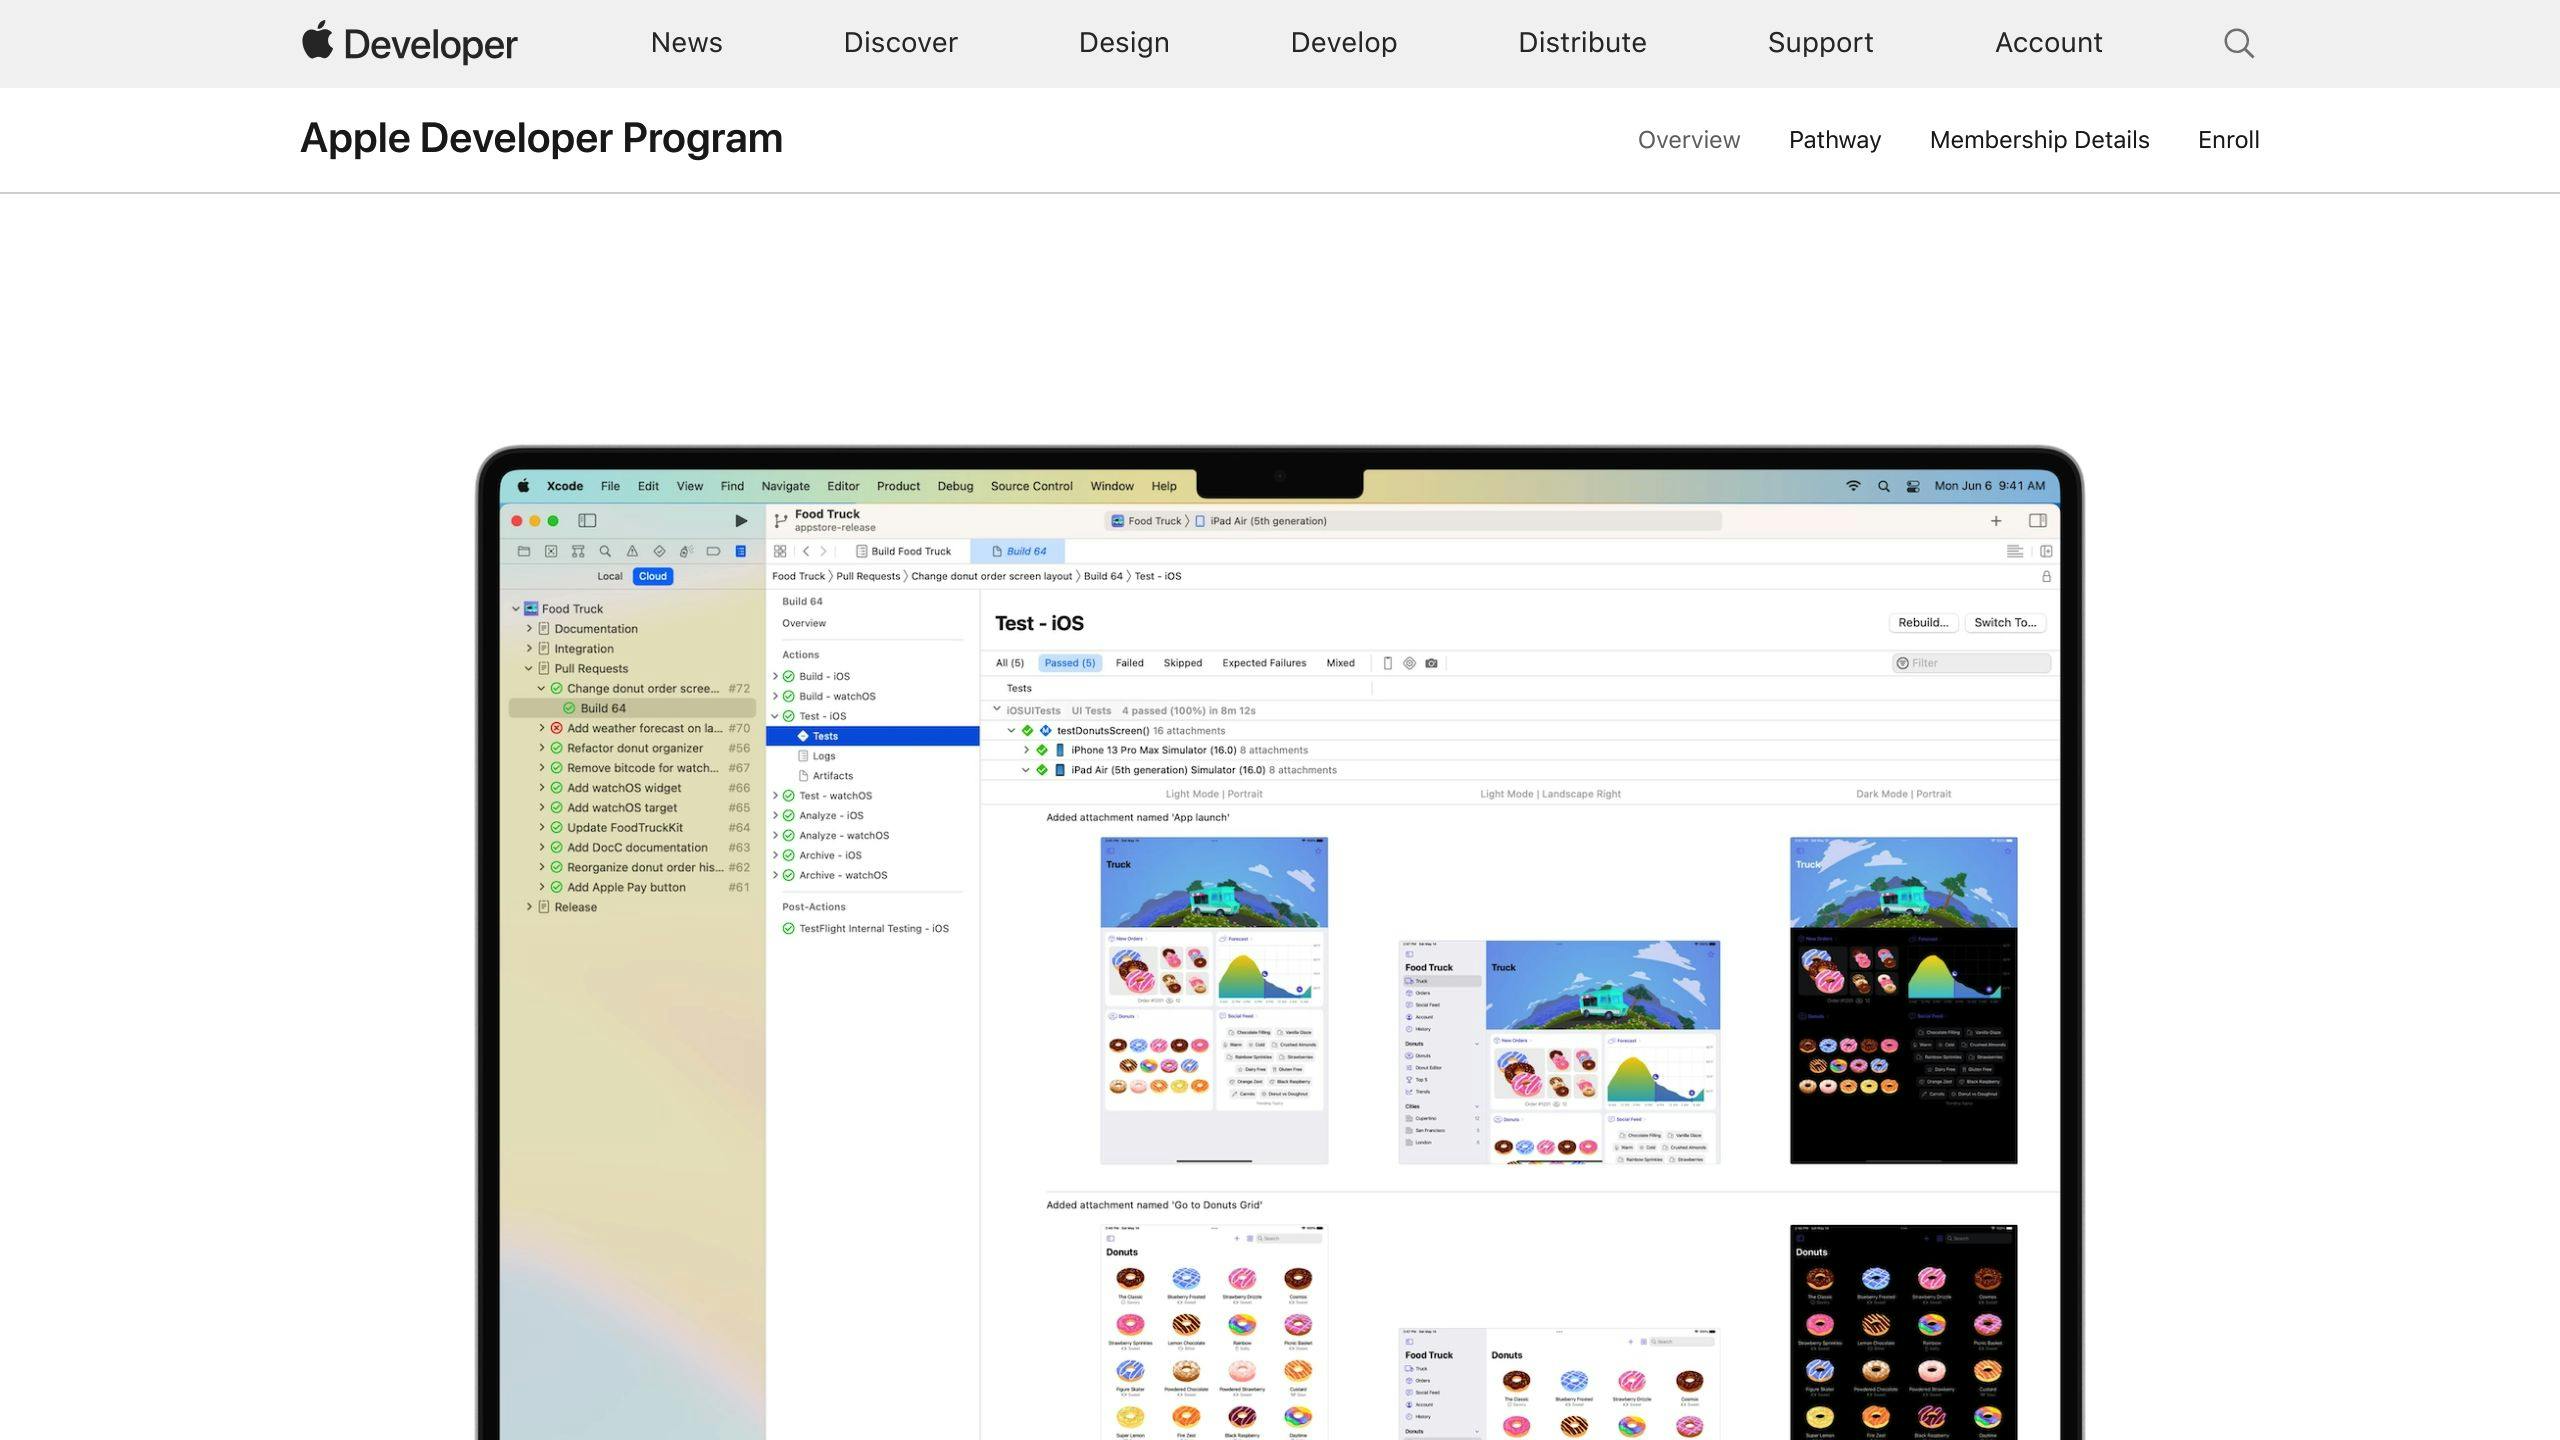
You need to join the Apple Developer Program, which costs $99/year. This gives you access to tools like certificates, identifiers, and provisioning profiles.
Apple ID
A valid Apple ID is required to access Apple's developer resources, including the Apple Developer website and App Store Connect.
Mac with Xcode
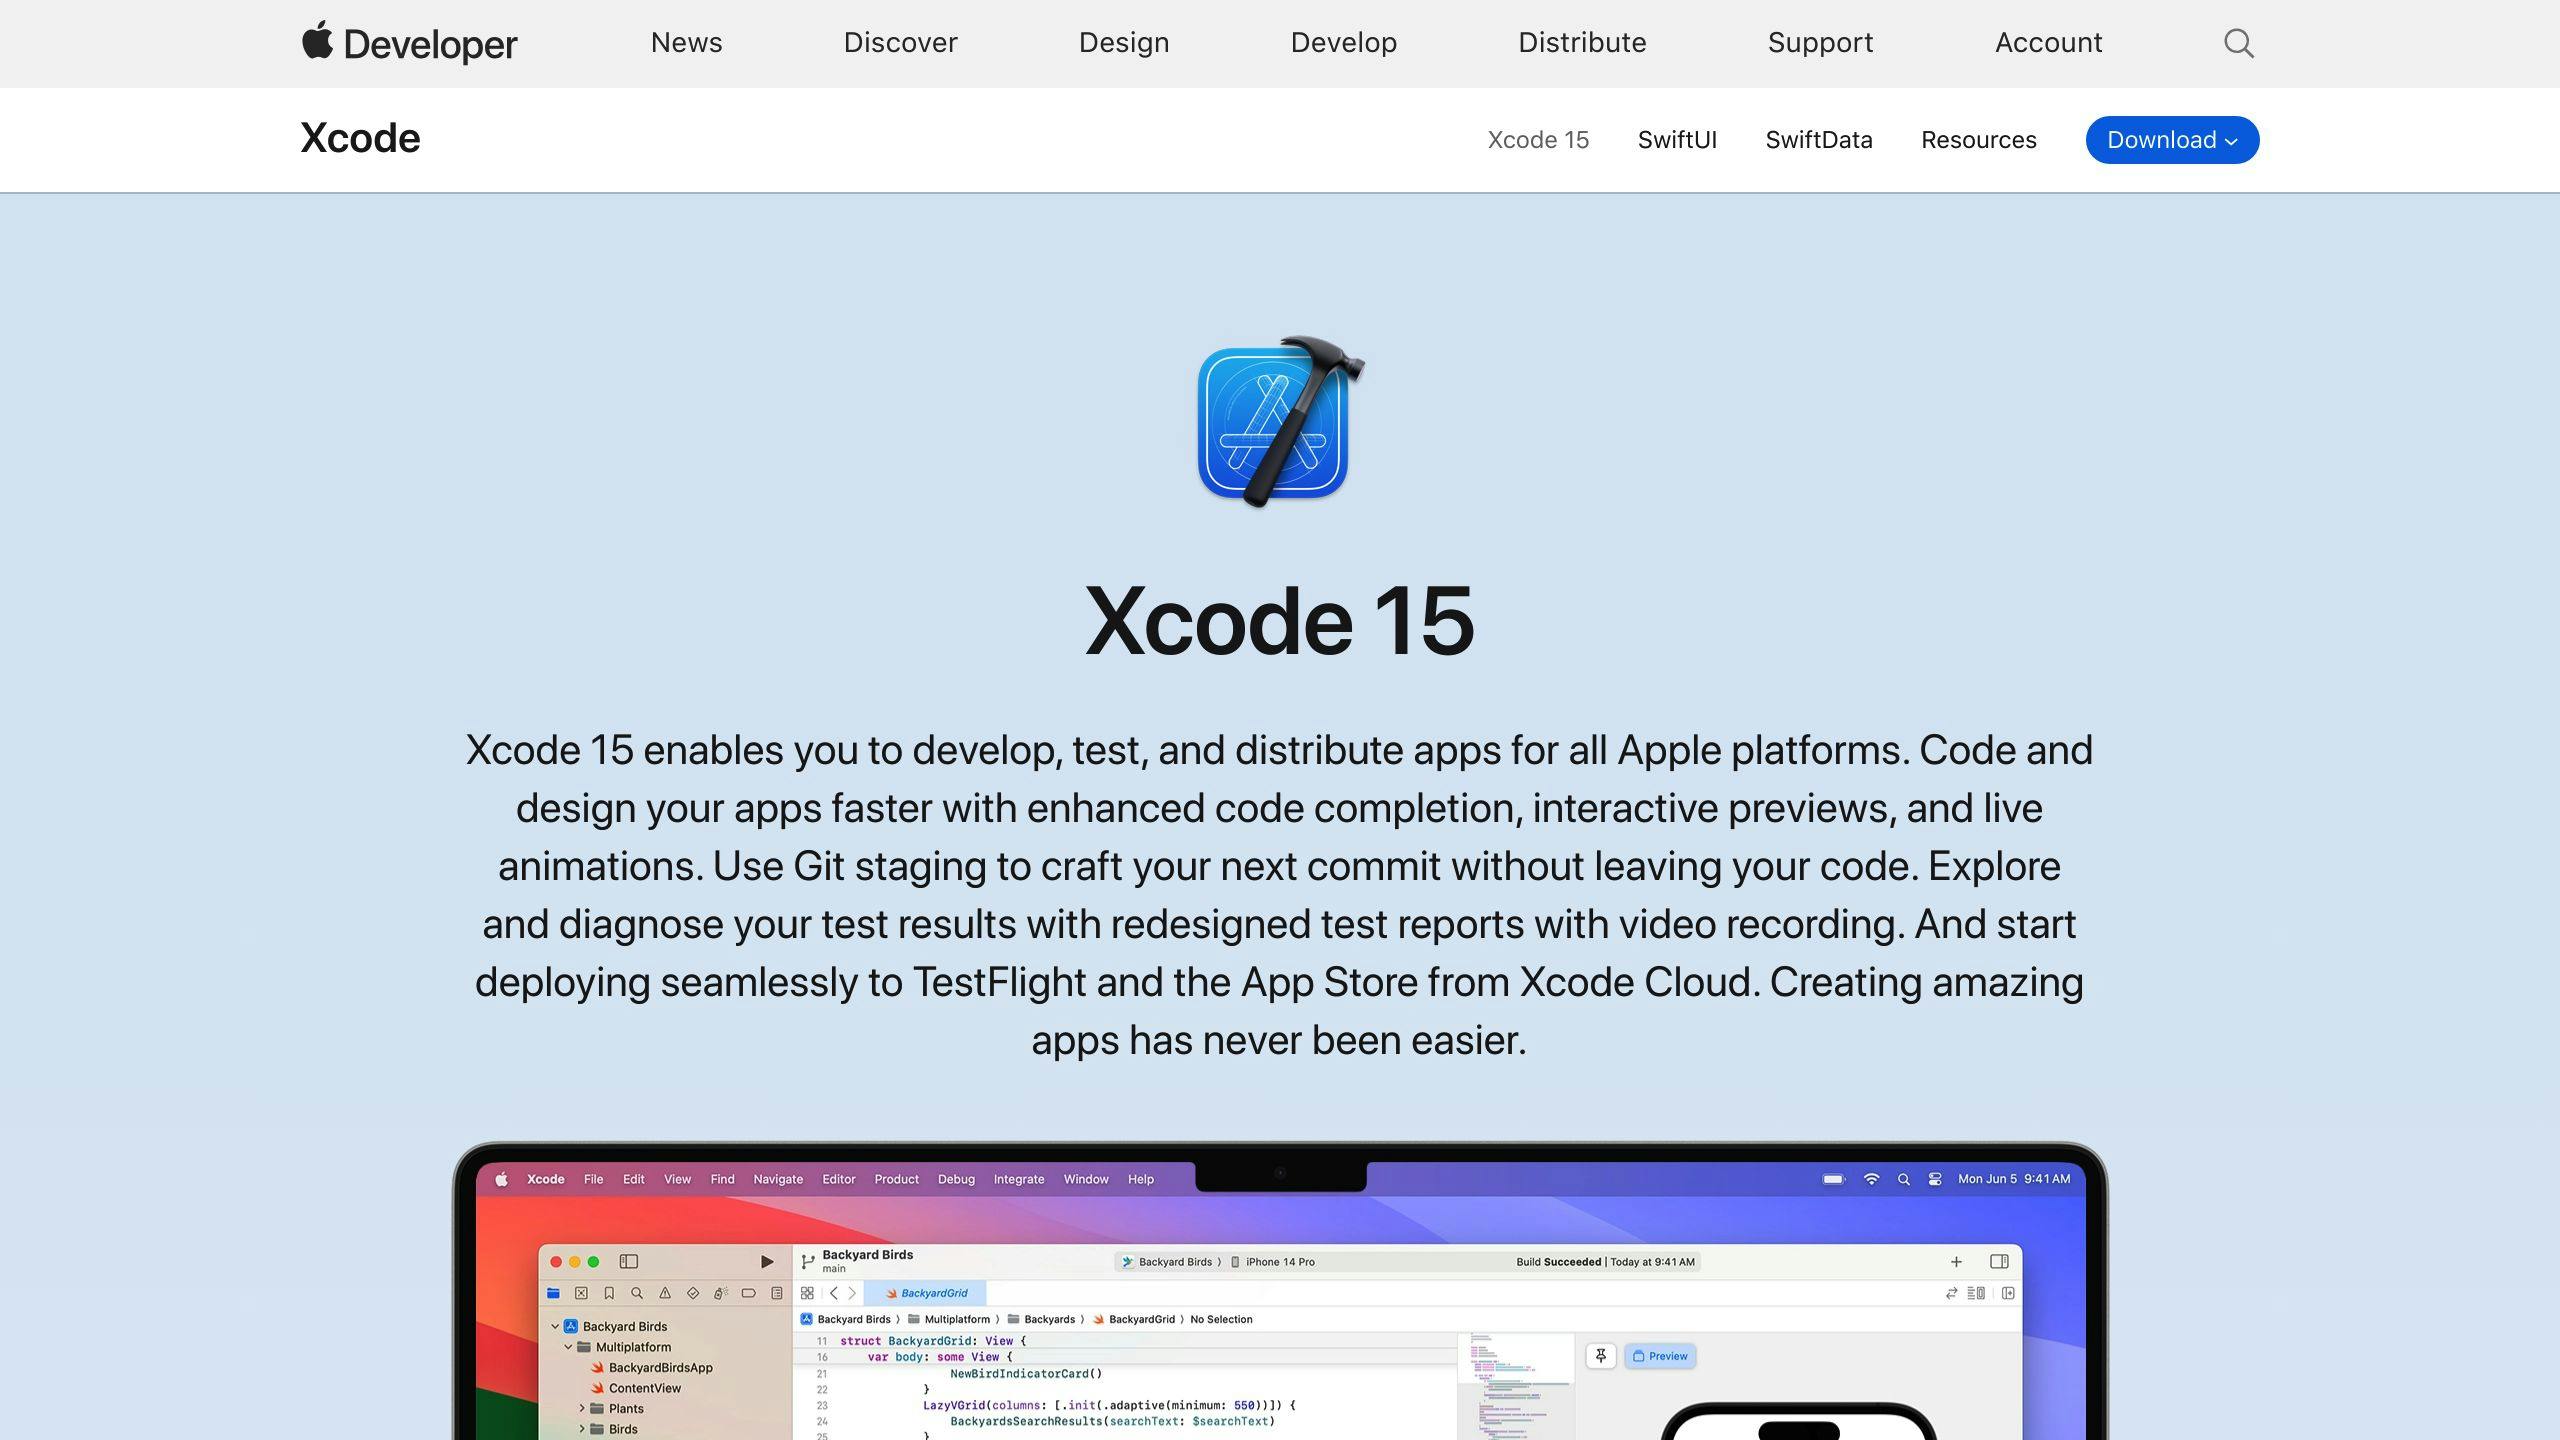
Xcode is necessary for building and submitting iOS apps. You need a Mac with Xcode installed to create an archive of your app and upload it to the App Store.
Unity Project for iOS
Ensure your Unity project is set up for iOS as the target build platform. This includes configuring player settings, optimizing for iOS, and adding iOS-specific features.
1. Prepare Unity Project
Getting your Unity project ready for iOS submission involves setting up player settings, optimizing for iOS, and adding iOS-specific features. This ensures your game runs well and meets Apple's guidelines.
Configure Player Settings
- Set Target Platform: In Unity Editor, go to File > Build Settings and select iOS.
- Open Player Settings: Click on Player Settings to open the window.
- Fill Out Details: Enter your company and product names, and set up your default and allowed orientations.
- Set Icons and Images: Configure your game's icon and cursor image.
- Bundle Identifier: Set your Bundle Identifier in reverse domain-name format. This must be unique.
- Signing Team ID: Find your Signing Team ID on your Apple Developer membership page.
Optimize for iOS
- Reduce Asset Size: Minimize the size of your asset files.
- Use Occlusion Culling: Implement occlusion culling to improve performance.
- Minimize Garbage Collection: Reduce garbage collection to enhance performance.
- Use Unity Profiler: Identify performance bottlenecks with Unity's built-in profiler.
- Choose Scripting Backend: Use IL2CPP instead of Mono for better performance and security.
- Use Addressables: Reduce game package size and improve loading times with Addressables.
Add iOS-Specific Features
Depending on your game's needs, you may need to add features like:
- In-App Purchases
- Game Center
- Advertising SDKs
Follow Apple's guidelines and Unity's iOS-specific features documentation for smooth integration.
2. Create App Store Assets
When submitting your Unity iOS app to the App Store, you'll need to create assets that showcase your app's features and functionality. These assets help attract users and increase your app's visibility.
App Icon
Your app icon is the first thing users will see. Design an icon that is eye-catching, simple, and scalable. Follow Apple's guidelines:
RequirementDetailsSize1024 x 1024 pixelsFormatPNGColor SchemeMatch your app's brandContentAvoid clutter, keep it simple
Use tools like Adobe Photoshop or Sketch to design your app icon. Ensure it looks good in various sizes and resolutions.
Screenshots
Screenshots show your app's features and user interface. Capture screenshots for different devices and orientations. Follow these guidelines:
RequirementDetailsDevicesiPhone, iPad, iPod touchOrientationsPortrait and landscapeContentHighlight key featuresFormatPNG or JPEG
Use tools like Adobe Photoshop or Skitch to edit and optimize your screenshots. Ensure they are clear and visually appealing.
Preview Video (Optional)
A preview video can showcase your app's features and gameplay. It's optional but can attract more users. Follow these guidelines:
RequirementDetailsLength15-30 secondsFormatM4V, MP4, or MOVContentHighlight key featuresAudioInclude music or sound effects
Use tools like Adobe Premiere Pro or iMovie to create and edit your preview video. Ensure it is engaging and visually appealing.
Description and Keywords
Your app description and keywords are crucial for discoverability. Follow these guidelines:
RequirementDetailsDescriptionDescribe your app's features and benefitsKeywordsChoose relevant keywordsFormatFollow Apple's guidelines
Use tools like App Store Connect or a keyword research tool to optimize your app description and keywords. Ensure they are concise and relevant to your target audience.
3. Set Up App Store Connect
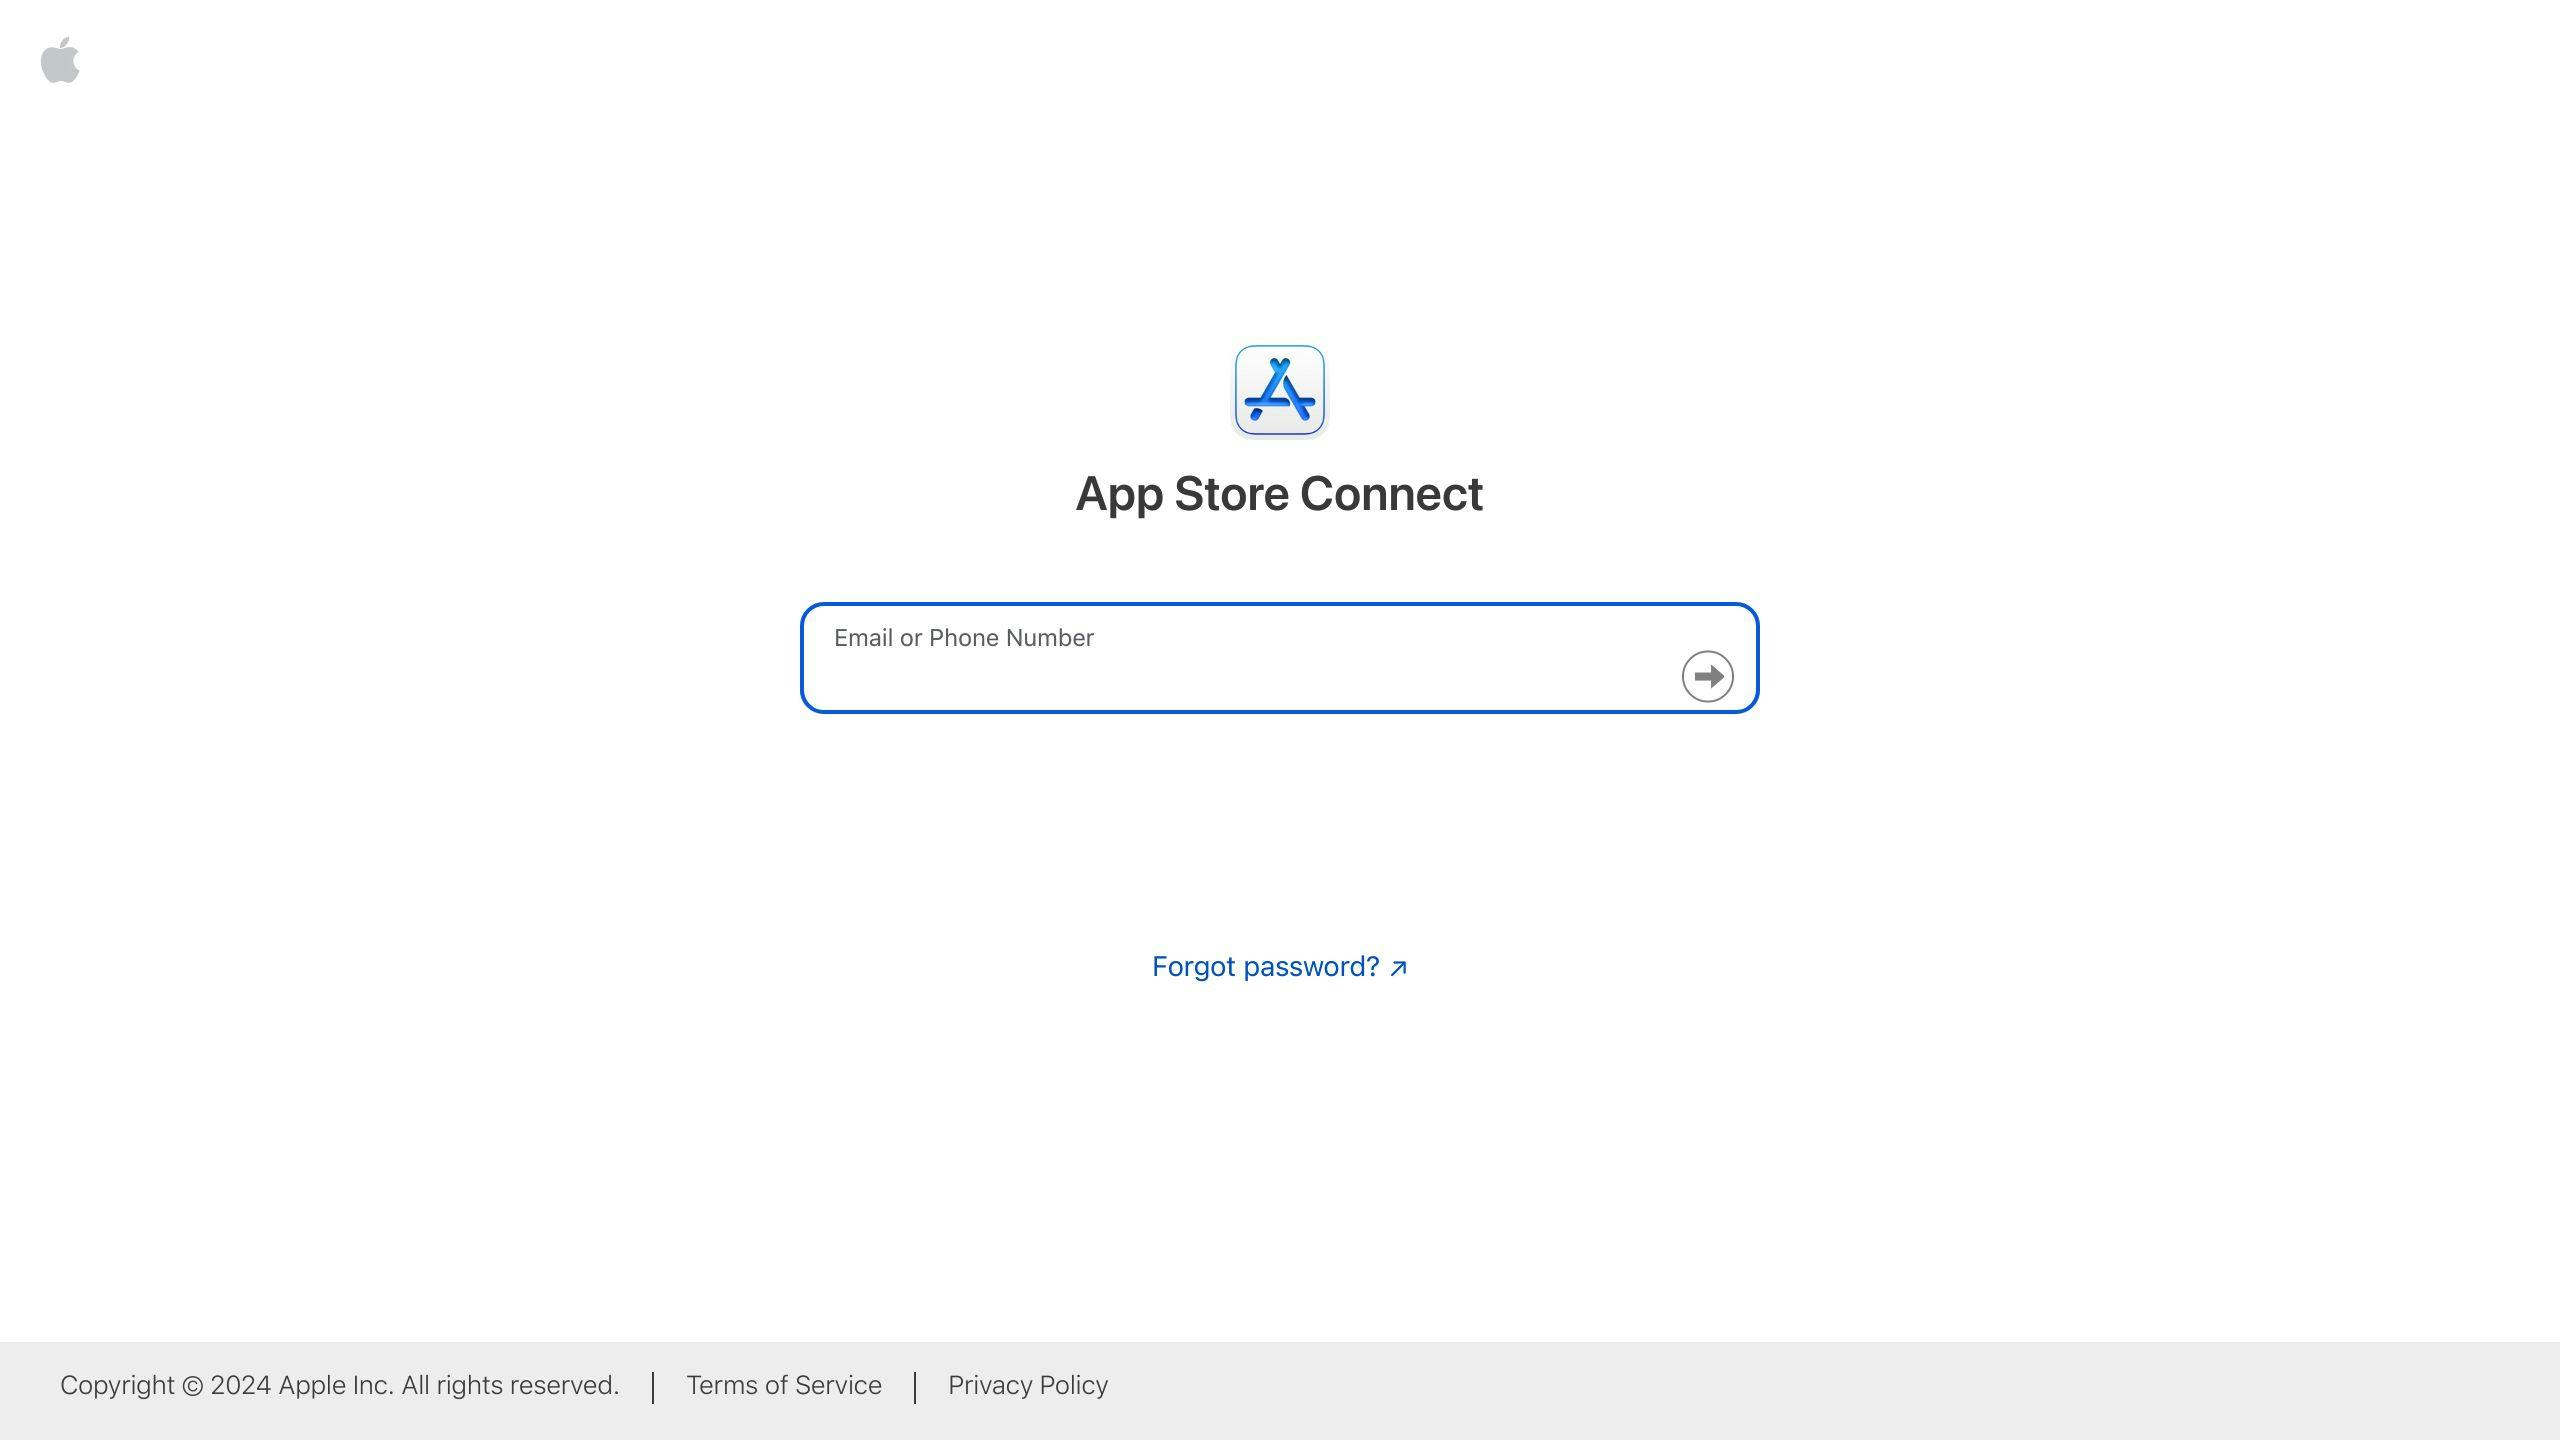
Create New App Entry
To set up App Store Connect, you need to create a new app entry. Follow these steps:
- Sign in to App Store Connect with your Apple ID and password.
- Click the "+" icon in the top-right corner to create a new app.
- Enter the required information:
- App name
- Description
- Keywords
- Select the primary language and bundle ID for your app.
- Click "Create" to finalize the new app record.
Upload Visual Assets
After creating a new app entry, upload the required visual assets:
Asset TypeRequirementsApp Icon1024 x 1024 pixels, PNG or JPEGScreenshotsPNG or JPEG images showcasing your app's features and user interfacePreview Video(Optional) 15-30 seconds, M4V, MP4, or MOV, demonstrating your app's features
Ensure you follow Apple's guidelines for each asset type to avoid issues during the review process.
Provide Required Information
You also need to provide the following information:
Information TypeDetailsPrivacy PolicyURL linking to your app's privacy policyContent RightsInformation about the ownership and rights of your app's contentOther InfoApp categories, keywords, and release notes
Fill out all required fields accurately to avoid delays in the review process.
sbb-itb-8abf120
4. Get Distribution Certificates and Profiles
Create Distribution Certificate
Follow these steps to create a distribution certificate:
- Go to the Apple Developer Portal and sign in with your Apple ID.
- Select Certificates, IDs & Profiles from the left menu.
- Click the “+” button under Certificates.
- Choose iOS Distribution and click Continue.
- Upload the CSR file you generated earlier and click Continue.
- Download the generated iOS Distribution Certificate.
- Double-click the downloaded certificate to add it to your Keychain.
Create App ID and Provisioning Profile
To create an App ID and provisioning profile:
- In Certificates, Identifiers & Profiles, click Profiles in the sidebar, then click the add button (+).
- Under Distribution, select an App Store distribution profile and click Continue.
- Choose the App ID for this profile and click Continue.
- Name your provisioning profile, generate it, and download the profile.
- Double-click the downloaded profile to add it to Xcode.
Download and Install Certificates/Profiles
After creating the distribution certificate and provisioning profile:
- Download the distribution certificate and provisioning profile from the Apple Developer Portal.
- Double-click the downloaded certificate to add it to your Keychain.
- Double-click the downloaded profile to add it to Xcode.
5. Build and Sign iOS App
Build Xcode Project from Unity
To build an Xcode project from Unity, follow these steps:
- Open your Unity project and go to File > Build Settings.
- Select iOS as the target platform and click Switch Platform.
- In the Build Settings window, click Player Settings to open the Player Settings in the Inspector.
- Configure the settings as needed, including setting the Bundle Identifier and Version.
- In the Build Settings window, click Build to create an Xcode project.
Sign the App
To sign the app with the distribution certificate and provisioning profile:
- Open the Xcode project generated by Unity.
- In the Xcode project, go to Project Navigator and select the project.
- In the General tab, select the Signing (Release) option.
- Select the distribution certificate and provisioning profile created earlier.
- Ensure the Bundle Identifier matches the one in the Unity Player Settings.
Create Archive for Submission
To create an archive for submission to App Store Connect:
- In Xcode, go to Product > Archive to create an archive of your app.
- Once the archiving process is complete, the Organizer window will open.
- Select the archive and click Distribute App to upload it to App Store Connect.
6. Submit App for Review
Upload to App Store Connect
To upload your app to App Store Connect:
1. Open the Organizer window in Xcode. 2. Select the archive you created. 3. Click Distribute App. 4. Choose App Store Connect as the destination. 5. Click Next to start the upload.
Provide Additional Details
You will need to provide more information about your app:
Information TypeDetailsApp DescriptionA brief summary of your app and its featuresKeywordsRelevant keywords to help users find your appScreenshotsImages of your app in actionPreview Video(Optional) A video showcasing your app's features
Submit for Review
To submit your app for review:
1. Review all the information to ensure accuracy. 2. Click Submit for Review. 3. Wait for Apple to review your app. This usually takes 24-48 hours but can take longer.
7. Handle Rejections and Updates
Common Rejection Reasons
Understanding why apps get rejected can help you avoid mistakes. Here are some common reasons:
ReasonDescriptionCopycat AppsApps that are duplicates or very similar to othersLimited User ExperienceApps that feel like a mobile websitePlaceholder ContentUnfinished content still in the appInaccurate DescriptionMisleading app descriptionsPoor UI/UXBad user interface or user experienceMentioning Other PlatformsReferences to platforms like AndroidIncomplete InformationMissing metadata or broken links
Submit an Update
If your app is rejected, you can fix the issues and resubmit. Here's how:
- Fix the issues mentioned in the rejection notice.
- Update your app's metadata, including description, screenshots, and keywords.
- Resubmit your app for review.
Manage App Updates and Releases
Keeping your app updated is important. Here are some tips:
- Regularly update your app to fix bugs and add new features.
- Use TestFlight to test your app with beta testers before submitting to the App Store.
- Ensure your app's metadata is up-to-date and accurate.
- Plan your app's release strategy, including scheduling updates and promotions.
Summary
This guide has walked you through the steps to publish your Unity iOS app to the App Store. From preparing your Unity project to submitting your app for review, we've highlighted the importance of following Apple's guidelines and thorough testing before submission. By following these steps, you'll be ready to publish your app and make it available to millions of iOS users.
FAQs
How do I publish Unity games on iOS App Store?
To publish your Unity game on the iOS App Store:
- Open your game project in Unity.
- Go to File > Build Settings and select iOS as the build target.
- Click on Player Settings and fill out Company Name, Product Name, and Version.
- Set the app icon, which users will see on their phones when they install the app.
How do I publish my Unity game?
To publish your Unity game, follow these steps:
- Sign up to the store: Create an account on the App Store Connect platform.
- Register your game with the store: Provide required information about your game, such as its name, description, and screenshots.
- Select the Target Step: Choose the countries and regions where you want to distribute your game.
- Countries and Advanced settings: Configure additional settings, such as pricing, availability, and release date.
- Publish: Submit your game for review and wait for approval.


